Home / Setting Pipe Posts in Rocky Ground
Setting Pipe Posts in Rocky Ground
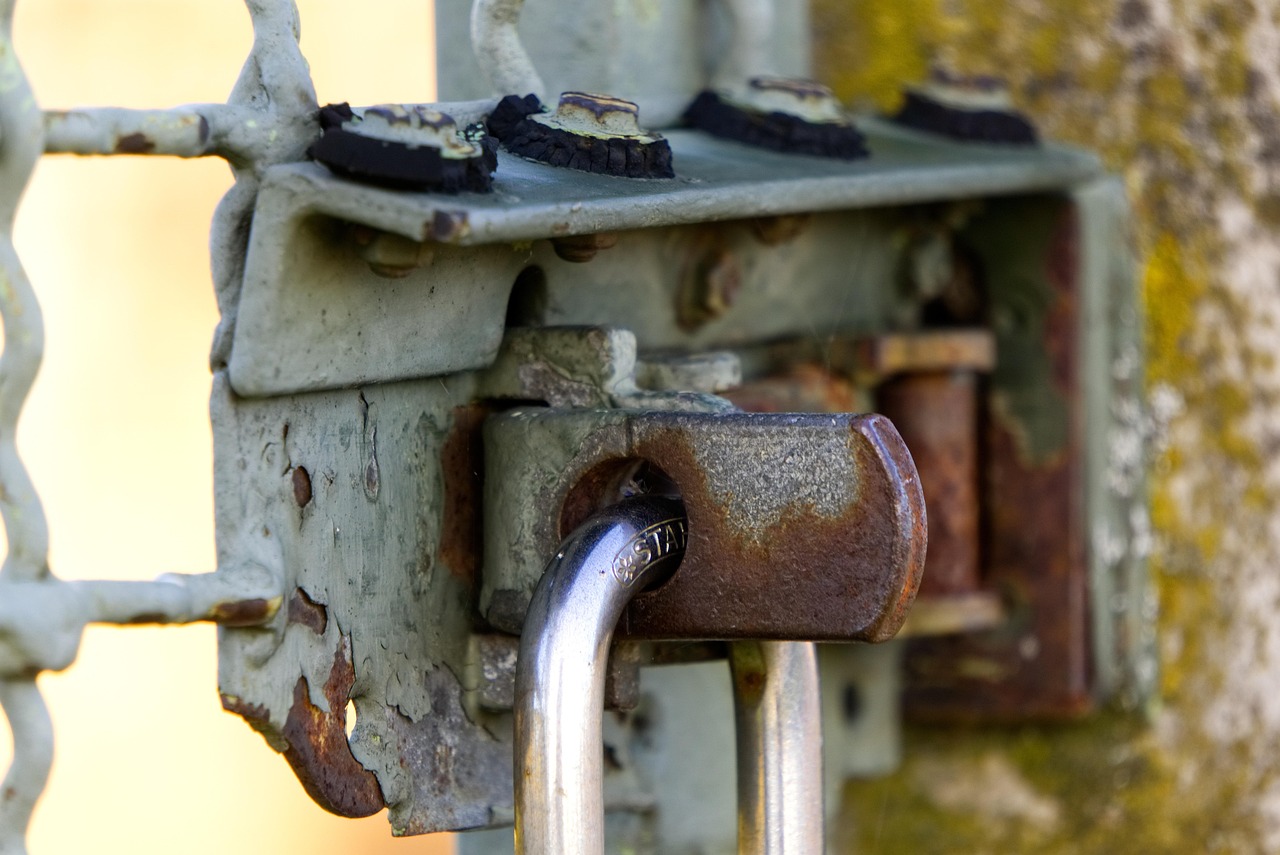
Rocky ground changes how a gate post gets set. Where soil is deep and soft, a post auger does most of the work. Where limestone lies close to the surface, the same job needs different tools, more planning and a bit more patience. The goal does not change: a plumb, solid post that will not lean when a heavy gate hangs from it. Getting there takes a few specific habits.
Reading what is under the surface
Before any drilling, find out how deep the rock really is. Probe with a steel rod, a digging bar or a small test hole. In central Texas the layer is often limestone in broken slabs, sometimes with pockets of clay between them. A probe that hits something solid at six inches may only have found a loose cobble, and a second try a foot away may go much deeper. Several test points give a better picture.
Know where underground lines run before digging. A call to the locating service ahead of any excavation is standard practice, and marks should be respected when choosing hole positions.
Drilling into limestone
A standard auger skips and bounces on rock. Rock drilling is done with a rotary hammer or a heavy drill rig that uses a carbide tipped bit, or with a rock auger bit that has hardened teeth. A larger percussion drill can chip through layers quickly. Smaller jobs sometimes use a handheld breaker to open a hole, followed by a digging bar and a post hole shovel to clear the debris.
Expect slow work. Limestone is not uniform, and a bit can wander along a seam or a soft layer. Keep the hole as straight as possible, and check it frequently with a level or a plumb line. A crooked hole makes it hard to set the post true.
Dry fit first
Before any concrete, stand the post in the empty hole and check it. Does it reach the needed depth? Is it plumb in both directions? Do any rock edges push it off line? This step catches problems while they are easy to fix. Trim a protruding ledge, deepen a low spot or shift the hole slightly. Mark the finished height on the post and confirm that the gate will hang where intended.
The dry fit also shows how much room is available for concrete around the post. A tight hole in rock may leave only an inch or two on each side. That is workable, but it means the mix must flow well.
How deep is deep enough
In soil, depth gives a post its grip. In solid rock, the rock itself provides the grip, so less depth can work, provided the post bonds well with the rock walls. A post set in a drilled hole a couple of feet into sound limestone can be extremely stable. The risk lies in fractured or weathered rock that crumbles, which gives less hold than it appears to.
When the rock is shallow and sound, follow the hole to the depth you can reach and fill it fully with concrete. When the rock is broken or layered, aim for more depth and a wider hole. When the rock is a thin shelf over clay or soft material, drill through it and treat the layer below as the real soil.
Estimating concrete volume
A drilled hole is usually narrower than a dug footing, so the volume of concrete is modest. A round hole about nine to twelve inches wide and three feet deep holds roughly a couple of cubic feet. It is better to mix a little more than needed than to run short in the middle of a pour. Bagged mix works well for a few posts, and each post needs several bags. Larger jobs may call for a mixer or a delivered load.
Use a mix suited to the job. A stiff mix holds the post in position but can leave voids against rough rock. A slightly wetter mix flows into the gaps, though too much water weakens the result. Rod or vibrate the concrete as it goes in to remove air pockets.
Drainage at the base
Water collects at the bottom of a hole in rock because the surrounding stone does not drain. Standing water inside a hollow steel post rusts it from within. Two habits help. First, a few inches of gravel at the bottom gives water somewhere to go. Second, a small drain hole drilled in the post just above the concrete level, or a sealed cap on the top, keeps water from collecting inside.
Finish the top of the concrete with a slight slope away from the post, a collar that sheds water instead of holding it against the steel. Where concrete meets the post, rust usually starts first, so a bead of sealant at that line is cheap insurance.
Bracing while it cures
Set the post plumb with a level on two sides, then brace it with stakes and boards or with clamps attached to a fixed point. Check again after the pour begins, because concrete pressure can push the post out of line. Leave the bracing in place until the concrete has cured. For a gate post carrying a heavy leaf, allow several days of curing before hanging anything, and longer in cold weather.
Hanging a gate on fresh concrete is the most common cause of posts that lean later. The concrete may look hard on the surface while still weak inside.
Anchoring when drilling is not possible
Sometimes the rock is too hard or too shallow for a deep hole. Alternatives include welding the post to a steel base plate and bolting it to the rock with expansion or epoxy anchors, or pouring a wide concrete pad that sits on the rock and ties into it with steel dowels. These methods rely on the weight and bond of the foundation instead of on depth.
A pad needs reinforcing steel and an adequate size to resist overturning. A wide, thick, reinforced pad resists tipping because its weight and width act against the lever of the gate.
Checking the result
After curing, check plumb again and hang the gate. Watch it for several weeks, checking whether the post holds its angle and the latch still lines up. A small shift early on tells you the footing is not as firm as hoped. Fixing it early, with added bracing or a collar of new concrete, is much easier than after a season of use. Good work in rock lasts a long time, because the stone does not shrink, swell or wash away.